
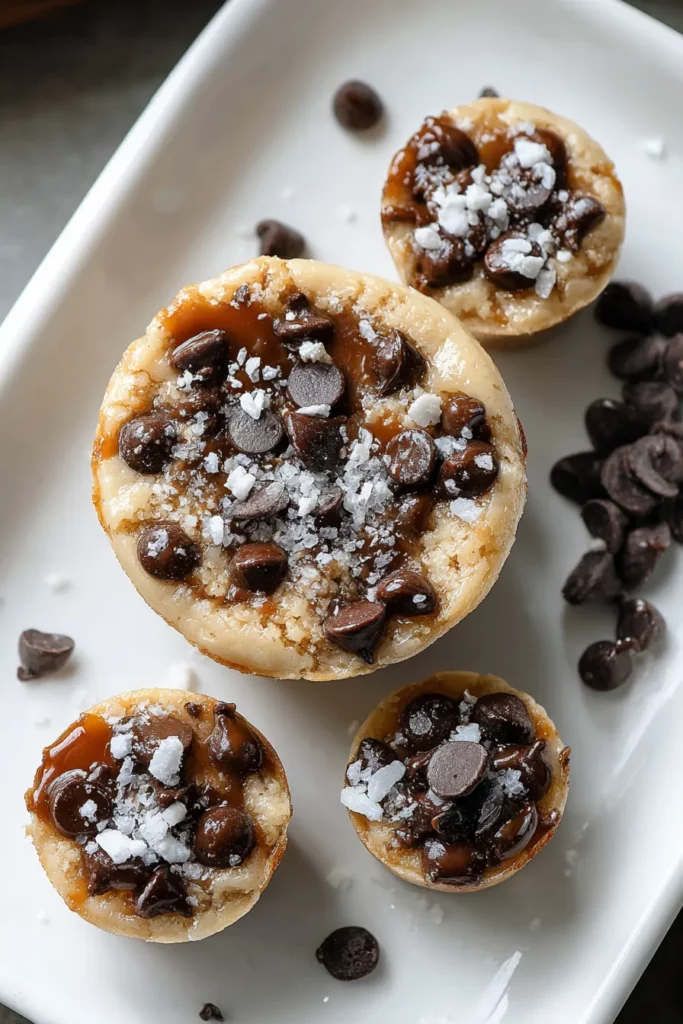
There’s something utterly irresistible about biting into a little cup that hides a soft, sweet pocket of chocolate chip cookie dough beneath a crisp shell of smooth chocolate. These Chocolate Chip Cookie Dough Cups take all the joy of sneaking a taste of raw dough—without any of the guilt—and package it into perfectly portioned bites that look as adorable as they taste. Every mouthful delivers that creamy, melt-in-your-mouth dough speckled with mini chocolate chips, followed by a satisfying crack of the semi-sweet coating. Whether you’re curled up on the couch with your favorite show or hosting a casual get-together, these bite-sized treats are sure to spark delight and conversation. And since they’re no-bake (aside from a quick flour-toast step), they’re an absolute dream for when you’re craving something decadent but don’t want to heat up the kitchen.
I still remember the first time I made these cups for a weekend brunch at my sister’s house. As soon as they came out of the fridge, the kids crowded around, eyes wide with anticipation. We couldn’t stop giggling as we dipped, drizzled, and devoured those little treasures. You really don’t need fancy equipment or hours of baking expertise—just a few simple pantry staples and the tiniest bit of patience while the dough chills. I love that it’s a beginner-friendly recipe that packs big, indulgent flavor. Plus, customizing is a breeze: swap in dark chocolate for the coating, toss in chopped nuts, or experiment with flavored extracts. If you’re after a fun weekend project that feels like pure childhood magic, these cups are your ticket to happiness in every miniature bite.
Every ingredient in this recipe plays a starring role in creating that dreamy texture and balanced sweetness. From the sturdy base of flour to the gooey melty coating, here’s what you need and why each component matters:
Let’s walk through the steps to transform these pantry staples into adorable, irresistible cups. Follow each instruction carefully for that perfect balance of creamy dough and crunchy shell—your future self will thank you!
1. Preheat your oven to 350°F (175°C). This step warms things up for the next phase.
2. Spread the all-purpose flour evenly on a baking tray and bake it in the oven for about 5 minutes to kill any bacteria. Once toasted, transfer it to a bowl and let it cool completely before mixing.
3. In a medium bowl, combine the melted butter, light brown sugar, and granulated sugar. Use a spatula or whisk to stir until the mixture is smooth and well combined.
4. Add the milk, vanilla extract, and salt to your sugar-butter blend. Stir continuously until the batter is ultra-smooth with no grainy bits.
5. Gradually sprinkle in the cooled flour, folding it in gently with a spatula. Mix just until you have a soft, uniform dough without overworking it.
6. Fold in the mini chocolate chips, ensuring they’re evenly distributed and every bite gets some melty chocolate goodness.
7. Using a small scoop or spoon, portion the dough into tiny balls and place them on a parchment-lined tray. If you like, press each ball slightly to flatten the top for a neater cup.
8. Transfer the tray to the freezer for about 15 minutes, allowing the dough balls to firm up so they hold their shape during dipping.
9. In a microwave-safe bowl, melt the semi-sweet chocolate chips with the coconut oil or shortening in 30-second intervals. After each burst, stir until the mixture is completely smooth and pourable.
10. Dip each chilled dough ball into the melted chocolate, submerging it fully. Lift and let any excess chocolate drip off before setting it back on the parchment.
11. Once all balls are coated, return the tray to the fridge.
12. Refrigerate for at least 20 minutes, or until the chocolate shell is fully set and gives a satisfying snap when tapped.
13. After they’re set, serve your Chocolate Chip Cookie Dough Cups immediately or store them in an airtight container in the refrigerator for later indulgence.
When it comes to presenting these treats, creativity takes them from “yum” to “wow!” These little cups are as versatile as they are tasty, so let’s explore some fun ways to plate them up for any occasion.
Storing these cups correctly is essential to maintain that crisp chocolate shell and the soft, luscious dough inside. Here are some foolproof methods to keep them tasting fresh and looking irresistible:
Thank you for taking the time to dive into this playful, indulgent adventure of Mini Chocolate Chip Cookie Dough Cups! We’ve covered everything from toasting the flour to achieve a safe, warm base, to crafting that luscious chocolate dip that encases each bite in a glossy shell. Along the way, you discovered how simple pantry staples—flour, sugars, butter, and chips—can transform into an elegant, no-bake dessert that’s perfect for sharing or savoring in a cozy solo moment. Remember, these cups are wonderfully customizable: feel free to experiment with different chocolate varieties, add nuts for crunch, or even swirl in a hint of almond or peppermint extract for a seasonal twist. You can print this article now and tuck it into your recipe binder for when inspiration strikes or a last-minute gathering calls for something truly special.
Below, you’ll find a FAQ section to answer any lingering questions about technique, ingredient swaps, or troubleshooting common hiccups. If you try this recipe, I’d love to hear how it turns out—leave a comment with your personal tweaks, flavor experiments, or any challenges you faced. Whether you’re a novice baker or a seasoned home cook, your feedback helps our community grow and inspires new ideas. So don’t be shy—drop your thoughts, questions, or rave reviews below. Happy dipping, chilling, and indulging in these delightful Cookie Dough Cups!
These no-bake treats feature soft, sweet cookie dough studded with mini chips and encased in a crisp chocolate coating for a deliciously fun texture contrast.

I’m Sophia Montgomery, your guide and fellow food enthusiast on this delicious journey. As a home cook with a deep love for creating meals that bring people together, I started this blog to share my passion for simple, flavorful, and heartwarming dishes