
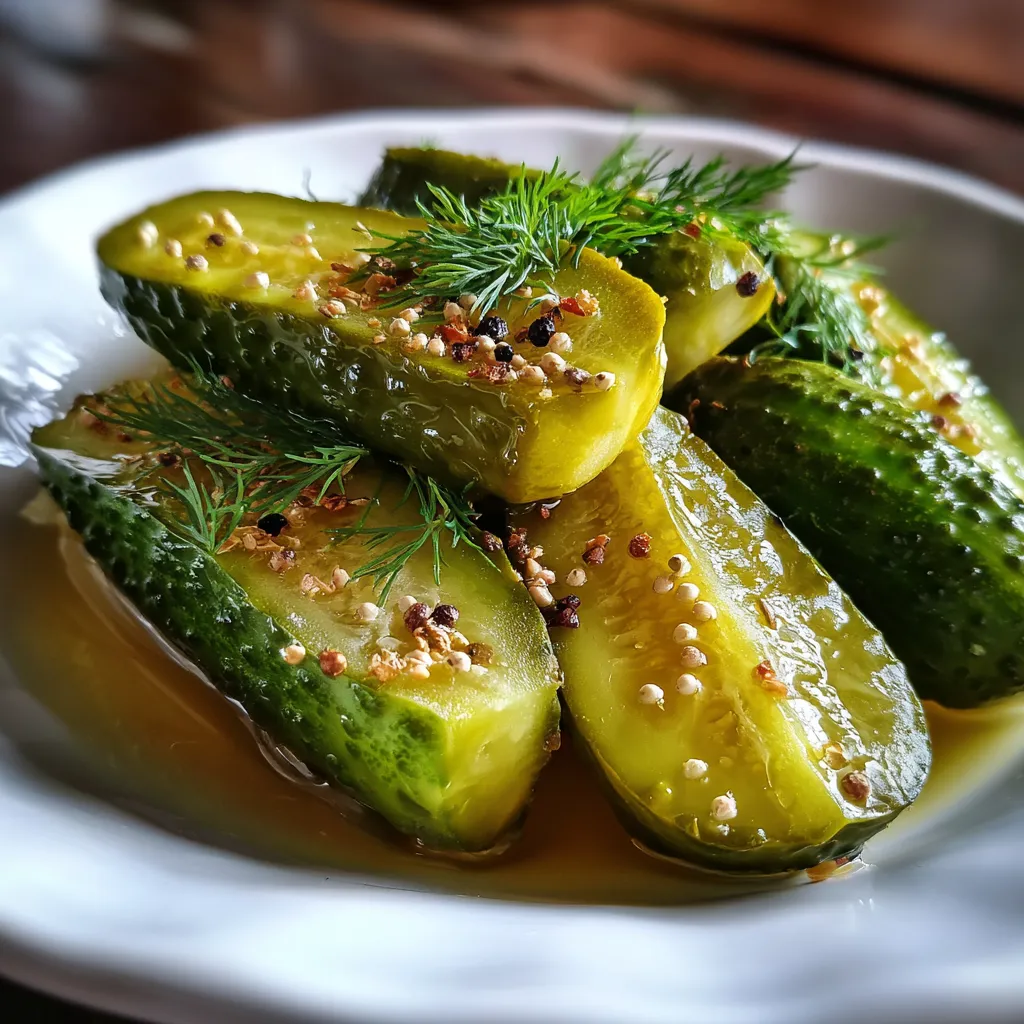
Crunchy Dill Pickles bring the perfect balance of tangy vinegar brine, fresh dill, and garlic in every bite. Keep cucumbers at their crunchiest with a brine infused with dill, garlic, and peppercorns, these homemade pickles crack with every bite, bathing in a bright vinegar brine spiked with mustard seeds and bay leaves. Ready in days and staying snappy in your fridge for weeks, this beginner-friendly recipe will have you hooked from the first crunch.
Before we dive in, let’s round up the simple, fresh ingredients that make these pickles so irresistibly crisp:
Crafting these pickles is easier than you think, and the payoff is unbelievably satisfying. From prepping cucumbers to sealing jars, each step builds layers of tangy, herby flavor and ensures that signature snap. Get ready to transform ordinary cucumbers into your new favorite snack or sandwich topper with this straightforward method.
1. Wash cucumbers thoroughly and trim off the blossom ends. Start by rinsing each cucumber under cold running water, then slice off about 2–3 mm from the blossom ends to prevent enzymatic softening.
2. Combine brine ingredients and bring to a boil. In a medium saucepan, stir together 4 cups water, 2 cups white vinegar, 3 tablespoons pickling salt, and 1 tablespoon sugar. Heat over medium-high, stirring constantly until the salt and sugar fully dissolve.
3. Pack jars with cucumbers and flavorings. Tightly arrange cucumbers in sterilized jars, interspersing 4 garlic cloves, 6 dill sprigs, 1 tablespoon peppercorns, 1 teaspoon mustard seeds, and 2 bay leaves for even distribution.
4. Pour in hot brine, leaving headspace. Carefully ladle the boiling brine into each jar, ensuring you leave about 1 cm of space at the top to accommodate expansion.
5. Add alum and stir to dissolve. Sprinkle 1 teaspoon alum into each jar, then gently swirl or use a chopstick to dissolve it evenly throughout the brine.
6. Wipe rims, seal jars, and cool. Clean any brine from the jar rims with a damp cloth, secure lids tightly, and let the jars cool on the counter to room temperature.
7. Refrigerate or process for shelf stability. For quick enjoyment, chill jars in the fridge for at least 48 hours. To store on the pantry shelf, process jars in a hot water bath for 10 minutes.
8. Rest for full flavor. Allow pickles to mellow and develop their full tang and crunch by resting for up to 1 week before diving in.
Once your pickles are perfectly tangy and crisp, here are a few fun ways to enjoy them:
Nailing that ultimate crunch and flavor is all in the details. Here are a few friendly pointers to keep your pickles at their best:
Proper storage ensures your pickles stay crunchy and flavorful for as long as possible. Follow these methods to keep them at peak snappiness:
Here are some quick answers to common pickle queries:
Active preparation time is about 15–20 minutes for washing, trimming, and packing jars, plus 5–10 minutes to heat the brine. After sealing, refrigerate the jars for at least 48 hours before sampling. For the fullest flavor and optimal crunch, allow the pickles to rest for up to 1 week before eating.
Alum helps maintain the cucumbers’ firmness by strengthening their cell walls during pickling. It is optional; if you prefer to omit alum, your pickles may soften slightly over time but will still be flavorful. Use fresh, firm cucumbers and keep them cold to maximize crispness without alum.
After packing each jar with cucumbers, spices, and hot brine, seal and process in a boiling water bath for 10 minutes. Remove jars and let them cool undisturbed. Properly sealed and processed jars can be stored in a cool, dark pantry for several months.
The blossom end contains enzymes that can cause pickles to become soft over time. Trimming off about 2–3 millimeters from the blossom end prevents this enzymatic activity, helping to ensure a crisp texture in the finished pickles.
Yes. For extra heat, add a pinch of red pepper flakes or a small sliced hot pepper to each jar. You can also experiment with additional spices such as coriander seeds, dill seed, or a small cinnamon stick. Just maintain the same brine ratio for consistent acidity and flavor.
In the refrigerator, these pickles will stay fresh for up to 2 months. Keep jars tightly sealed and stored below 4 °C (40 °F). Avoid contaminating the brine by always using clean utensils when removing pickles from the jar.
If the brine is too salty, reduce pickling salt by 1 teaspoon per batch and taste as it dissolves before filling jars. If it’s too mild, increase salt by 1 teaspoon or add a bit more vinegar (up to ¼ cup) to boost acidity. Always stir and taste the hot brine cautiously before pouring into jars.
These Crunchy Dill Pickles are a celebration of that satisfying snap and bold, tangy flavor—no salad bar required! The simple brine of vinegar, garlic, dill, and mustard seeds works like a charm on fresh cucumbers, while optional alum keeps everything gloriously crisp. This is a recipe you’ll want to print out and stash in your kitchen folder for easy reference—because once you taste that crunch, you’ll be hooked. Let me know how your jars turn out or drop a question below if you need any help perfecting your pickles!
These dill-speckled pickles crack with every bite, bathing in a bright vinegar brine spiked with garlic, mustard seeds, and bay leaves. Ready in days, they stay snappy in your fridge for weeks of tart, herbaceous crunch.

I’m Sophia Montgomery, your guide and fellow food enthusiast on this delicious journey. As a home cook with a deep love for creating meals that bring people together, I started this blog to share my passion for simple, flavorful, and heartwarming dishes