
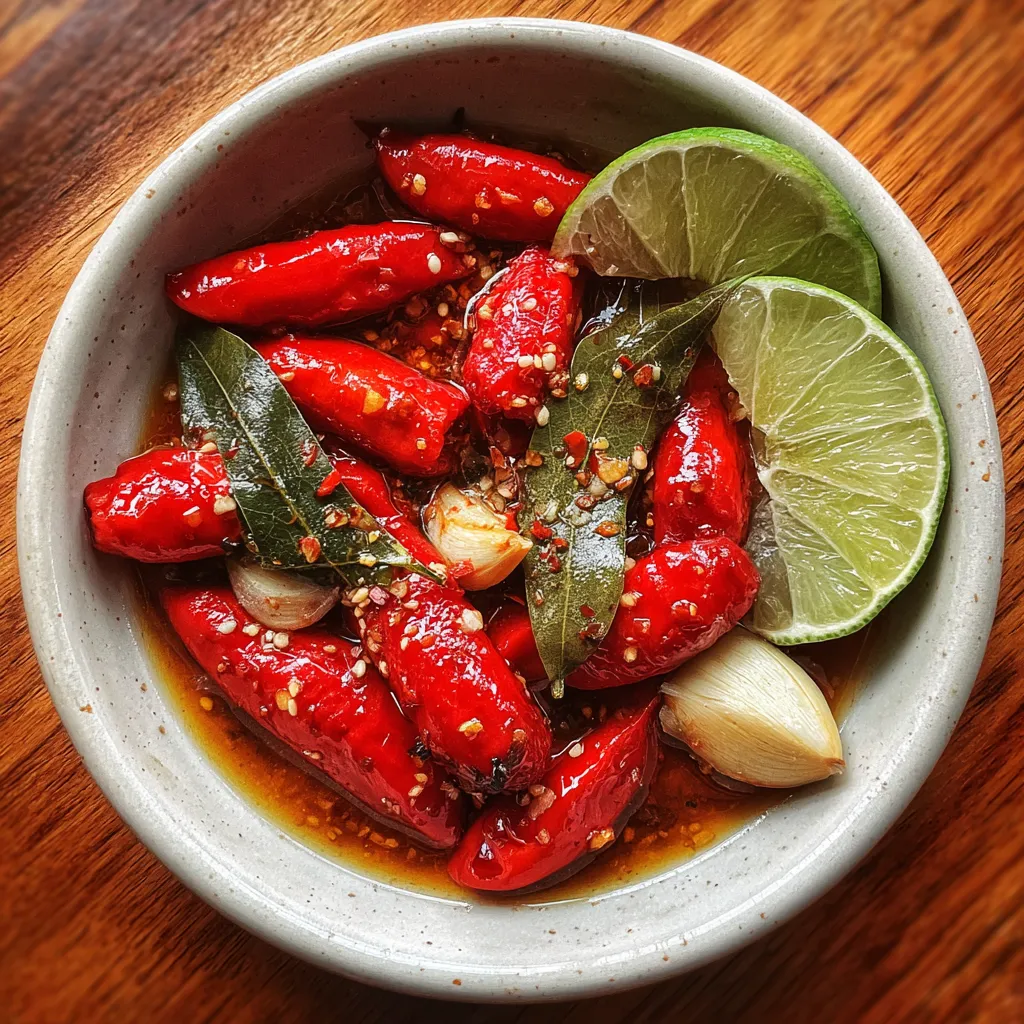
Fermented Peppers with Garlic and Lime offer an exciting way to transform vibrant chili peppers into tangy, probiotic-rich pickles with bright citrus notes and a gentle heat that livens every bite. This simple ferment blends crushed garlic, fresh lime zest and juice, and sea salt into a lively brine, then sits quietly for days as flavors deepen and the spice mellows. Whether you’re a fermenting newbie or a seasoned pro, this intermediate-level recipe invites you to taste the zing of homemade spicy pickles—your sandwiches, tacos, or cheese boards will thank you.
To create these lively pickled chilies, you’ll need just a handful of fresh, simple ingredients that deliver big flavor and beneficial probiotics.
Ready to embark on your fermentation journey? This step-by-step process will guide you through cleaning, flavoring, brining, and fermenting your peppers, ensuring you end up with a tangy, probiotic condiment you’ll reach for again and again.
1. Wash the chili peppers and trim off the stems, then pierce each pepper a few times with a fork. This cleans away any debris and allows the brine to penetrate.
2. Peel the garlic cloves and lightly crush them to release their oils, enhancing the aroma and flavor infusion.
3. Zest and juice the limes, then cut the zest into thin strips to distribute bright citrus notes throughout the jar.
4. In a clean bowl, dissolve the sea salt in the water to create a clear, well-balanced brine.
5. Pack the peppers, crushed garlic, lime zest, lime juice, and bay leaf tightly into a sterilized jar to minimize air pockets.
6. Pour the brine over the contents, ensuring everything is fully submerged under the liquid to promote safe fermentation.
7. Seal the jar loosely or fit it with an airlock lid, then leave it at room temperature (18–22 °C) away from direct sunlight for steady bacterial activity.
8. Allow the mixture to ferment for 7–14 days, checking daily to skim off any surface scum and ensure peppers remain submerged for an even ferment.
9. Once bubbling slows and flavors mellow, tighten the lid and transfer the jar to the refrigerator to slow fermentation and preserve the tangy crunch.
These tangy, garlicky peppers are a versatile sidekick to almost any dish. They add crunch, brightness, and a spicy kick—here are four delightful ways to serve them:
Fermentation can feel like a science experiment, but these friendly pointers will keep your peppers popping with flavor and free from fuzz:
Once your peppers have reached perfect tanginess, proper storage will keep that bright, spicy flavor locked in. Store them correctly to enjoy months of zesty crunch:
Here are answers to common fermenting curiosities:
A: The peppers typically ferment for 7–14 days at room temperature (18–22 °C). You’ll notice bubbles forming as the fermentation progresses. After about a week, taste the brine; if it’s tangy enough for your preference, tighten the lid and move the jar to the refrigerator. If you’d like a more pronounced sour flavor, let it ferment up to 14 days, checking daily to skim any scum and ensure the peppers remain submerged.
A: It’s best to use non-iodized salt such as sea salt or kosher salt to avoid off-flavors that iodine can introduce. Table salt often contains anti-caking agents and iodine, which can inhibit fermentation or alter the taste. If table salt is all you have, rinse it thoroughly to remove additives, but for consistent results, choose pure sea salt or kosher salt.
A: Mold growth is prevented by keeping the peppers fully submerged under the brine at all times. Use a weight, such as a small glass or fermentation weight, to press the peppers below the liquid surface. Skim off any white scum or kahm yeast that appears on top each day; this surface film is harmless but should be removed to discourage mold. Ensure your jar and utensils are sterilized before use, and keep the fermentation vessel in a cool, dark spot away from direct sunlight.
A: To achieve a milder result, remove the seeds and inner membranes from the chili peppers before piercing or packing them in the jar, as these contain most of the capsaicin. You can also shorten the fermentation time—fermenting closer to 7 days yields less heat development than a 14-day fermentation. Finally, you can mix the fermented peppers with fresh or roasted sweet peppers after fermentation to balance the heat.
A: Once the bubbling slows and the flavor reaches your desired tanginess, tighten the lid and transfer the jar to the refrigerator. Cold storage slows down fermentation, preserving the flavor and texture for several months. Always use clean utensils when removing peppers to avoid introducing contaminants, and ensure the peppers remain submerged in brine to maintain quality.
A: Yes, you can experiment by adding spices like coriander seeds, peppercorns, or herbs such as dill or cilantro for additional complexity. Thinly sliced onions, carrots, or even cucumber can be included alongside the peppers. Be mindful to maintain the proper salt-to-water ratio (2 tablespoons sea salt per liter of water) and keep all items submerged to ensure a safe fermentation process.
This fermented peppers recipe shines because it marries the bright zest of fresh lime with the bold punch of garlic and chili, creating a tangy, probiotic-packed condiment that elevates everything it touches. The gentle heat and citrus notes dance on your tongue, while the easy prep and minimal ingredients make it a joy for intermediate fermenters looking to experiment. Go ahead, print this guide, stash it in your recipe binder, and spice up your meals with these lively jars of homemade goodness. Don’t be shy—drop a comment if you give it a whirl or need a hand mastering your first ferment!
Vibrant peppers and crushed garlic mingle with fresh lime zest in a sea-salt brine, fermenting over days into a lively, tangy condiment that awakens the palate with zesty spice.

I’m Sophia Montgomery, your guide and fellow food enthusiast on this delicious journey. As a home cook with a deep love for creating meals that bring people together, I started this blog to share my passion for simple, flavorful, and heartwarming dishes