
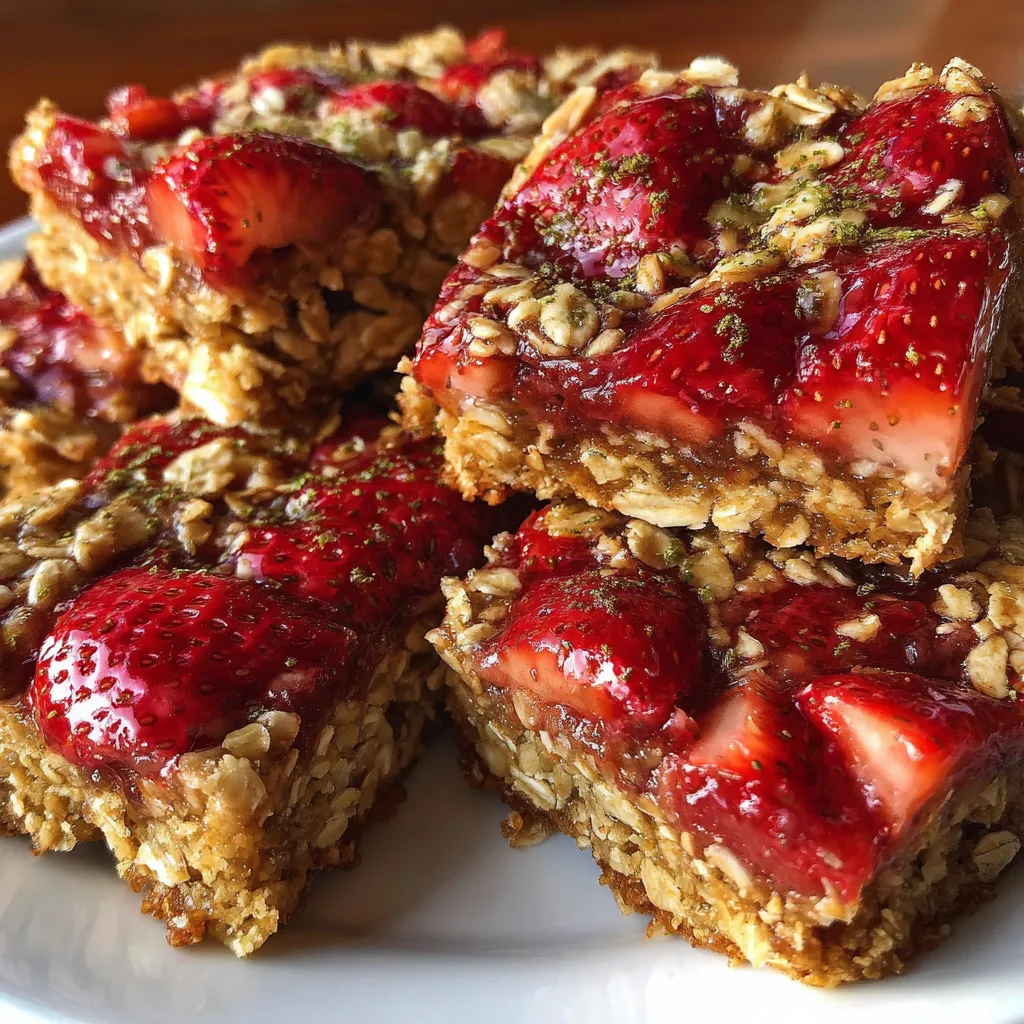
These Healthy Strawberry Oatmeal Bars Vegan Gluten-Free are your new go-to snack or breakfast boost, blending tangy berry bursts with chewy oats and a hint of cinnamon. They’re perfect for busy mornings, post-workout refuels, or whenever you need a wholesome pick-me-up that's both vegan and gluten-free. Bright strawberries peek through a spiced oat and almond flour base, all topped with a crunchy crumble that melts on your tongue. Ready in under an hour, these bars will satisfy your sweet tooth without any guilt—give them a try and watch them disappear!
To whip up these irresistible bars, you’ll only need a handful of wholesome pantry staples and fresh berries. Each component plays a vital role in delivering the perfect texture and flavor balance.
Baking these bars is straightforward, even for beginners. You’ll start by mixing your dry ingredients, then whisk together your wet components before combining everything into a crumbly dough. A quick press of the base, a layer of fresh strawberries, and a sprinkle of leftover crumble later, you’re ready for the oven. Here’s the step-by-step:
1. Preheat the oven to 350°F (175°C) and line an 8x8-inch baking pan with parchment paper to ensure easy removal.
2. In a large bowl, combine the gluten-free rolled oats, almond flour, baking powder, ground cinnamon, and salt until evenly distributed.
3. In another bowl, whisk together the maple syrup, melted coconut oil, vanilla extract, almond milk, and chia seeds until smooth and well blended.
4. Pour the wet ingredients into the dry ingredients and stir until the mixture looks crumbly but holds together when pressed.
5. Reserve about 1/2 cup of the oat mixture for the topping, then press the remaining mixture firmly into the bottom of the prepared pan to create an even base layer.
6. Spread the chopped strawberries evenly over the oat base to ensure each bar has juicy fruit throughout.
7. Sprinkle the reserved oat mixture on top of the strawberries to form a rustic crumble topping.
8. Bake for 25 to 30 minutes, or until the edges are golden and the topping is set but still slightly soft in the center.
9. Cool completely in the pan before lifting out the bars using the parchment paper—this prevents them from falling apart.
10. Slice into squares and enjoy immediately, or store for a quick snack later.
These bars shine on their own, but a few simple add-ons can elevate your serving experience. Whether it’s breakfast on the go or a mid-afternoon treat, here are some fun ideas:
Getting these bars just right is easier than you think. With a few friendly pointers, you’ll nail the texture and flavor every time:
Planning ahead? Proper storage keeps your bars fresh and tasty, whether you’re saving them for later in the week or stashing extras in the freezer.
Here are answers to the most common questions about these strawberry oatmeal bars:
Preparing this recipe takes about 10–15 minutes, including measuring ingredients, chopping strawberries, and lining the pan. Baking takes 25–30 minutes, for a total time of roughly 35–45 minutes from start to finish. Allow an additional 10–15 minutes for the bars to cool completely before slicing.
Yes, you can use frozen strawberries. Thaw them briefly, then drain any excess liquid before chopping and adding them to the base layer. If your strawberries release a lot of moisture, pat them dry with a paper towel to prevent the bars from becoming soggy during baking.
Ensure you press the base layer firmly and evenly into the pan before adding strawberries. The chia seeds and almond milk help bind the mixture, so double-check you’ve whisked them thoroughly with the wet ingredients. If the mixture still feels too dry, add an extra teaspoon of almond milk or maple syrup to improve cohesion.
You can substitute almond flour with coconut flour or a gluten-free 1:1 baking flour blend, but adjustments are needed. Coconut flour absorbs more moisture, so use about 1/4 cup coconut flour and increase the almond milk by 2 tablespoons. If using a gluten-free blend, maintain the 1 cup measurement but monitor the mixture’s moisture and add up to 1–2 tablespoons more almond milk if it seems dry.
Store the cooled bars in an airtight container in the refrigerator for up to 5 days. Place a sheet of parchment or wax paper between layers to prevent sticking. For room-temperature serving, allow bars to sit at room temperature for 10–15 minutes before eating.
Yes. After cooling completely, slice the bars and arrange them in a single layer on a baking sheet. Freeze for 1 hour, then transfer to a freezer-safe container with parchment paper between layers. Freeze for up to 2 months. Thaw individual bars at room temperature for 20–30 minutes before serving.
If the topping begins to brown before the base is fully set, loosely tent the pan with aluminum foil about halfway through the bake time. This will shield the topping from direct heat while allowing the center to continue cooking until the edges are golden and the topping is set.
These bars are special because they bring together simple, wholesome ingredients into a guilt-free treat that’s both vegan and gluten-free—no special trips to the health food store necessary. The combination of chewy oats, nutty almond flour, and ripe strawberries creates a flavor party in your mouth, and the cinnamon crumb topping adds that nostalgic touch of homemade baking. Printable and fridge-friendly, you can save this article for rainy days or busy mornings. Have any fun tweaks or questions? Drop a comment below—I’d love to hear how your bars turned out or help troubleshoot any baking dilemmas!
Tangy strawberry pieces peek through a chewy bed of spiced oats and almond flour, topped with a crunchy crumble that melts on your tongue in every gluten-free, vegan bite.

I’m Sophia Montgomery, your guide and fellow food enthusiast on this delicious journey. As a home cook with a deep love for creating meals that bring people together, I started this blog to share my passion for simple, flavorful, and heartwarming dishes