
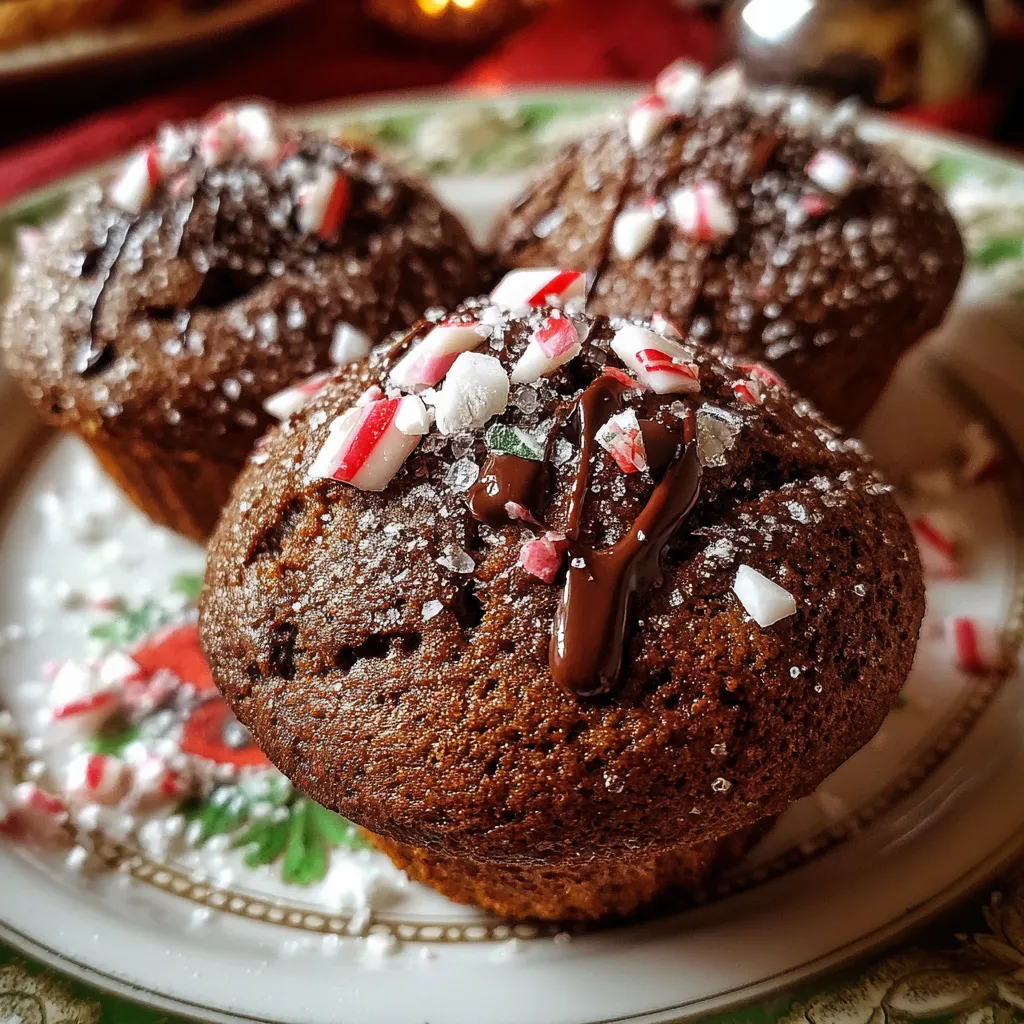
Rich, chocolatey muffins get a refreshing peppermint twist that’s perfect for any cozy moment. These Peppermint Hot Chocolate Muffins are soft, fluffy, and studded with mini chocolate chips—then crowned with crunchy crushed peppermint candies for a festive finish. Whether you’re looking for a sweet holiday bake or a year-round treat, these muffins deliver a delightful balance of rich cocoa and cool mint in every bite. Grab your mixing bowls and let’s whip up a batch that’ll have everyone asking for more!
To whip up these irresistible muffins, you’ll need a handful of pantry staples plus a dash of peppermint magic. Each ingredient plays a key role in building structure, flavor, and that special holiday flair.
Now that you’ve gathered your ingredients, let’s dive into the step-by-step process. This recipe is beginner-friendly, and with a few simple mixing and baking techniques, you’ll be pulling a tray of warm, minty-chocolate muffins out of the oven in no time.
1. Preheat your oven to 350°F (175°C) and line a muffin tin with paper liners or lightly grease it with cooking spray to prevent sticking.
2. In a medium mixing bowl, sift together the all-purpose flour, cocoa powder, baking powder, baking soda, and salt. This ensures even distribution of dry ingredients—set the bowl aside once done.
3. In a large mixing bowl, whisk together the granulated sugar and brown sugar until the mixture looks uniform and slightly fluffy.
4. Add the milk, vegetable oil, egg, and vanilla extract to the sugar mixture. Mix well with a whisk or spatula until the batter is smooth and fully combined.
5. Gradually add the dry ingredients to the wet ingredients, stirring gently with a spatula or wooden spoon. Be careful not to overmix—small lumps are okay and help keep muffins tender.
6. Fold in the mini chocolate chips and peppermint extract, making sure they’re evenly distributed without overworking the batter.
7. Spoon the batter into the prepared muffin tin, filling each cup about two-thirds full for the perfect dome.
8. Sprinkle the crushed peppermint candies over the top of each muffin, pressing gently so they stick.
9. Bake in the preheated oven for 18–20 minutes, or until a toothpick inserted into the center of a muffin comes out clean or with a few moist crumbs.
10. Allow the muffins to cool in the tin for 5 minutes before transferring them to a wire rack to cool completely.
Whether you’re hosting a holiday brunch or craving a cozy solo snack, these muffins shine on any table. Here are a few ideas to make them even more special:
With just a few simple tricks, your muffins will turn out bakery-worthy every time. Don’t overthink the process—gentle mixing and fresh ingredients are your best friends. Make sure to measure your flour by spooning it into the cup and leveling it off for accurate results. And remember, chill time for the batter can enhance flavors and make baking day a breeze.
Keeping your muffins fresh ensures you can enjoy them for days—or even weeks—after baking. The key is to control moisture and air exposure so they stay soft without becoming soggy or stale.
Got questions? Here are some quick answers to help your baking adventure.
A: It takes about 10 minutes to measure and mix the ingredients, 18–20 minutes to bake in a preheated 350°F (175°C) oven, plus a brief 5-minute rest in the tin and a few more minutes to cool on a wire rack, for a total of roughly 35 minutes from start to finish.
A: Yes. Once the batter is mixed (before adding crushed peppermint candies on top), you can cover it tightly and refrigerate for up to 24 hours. When you’re ready to bake, let the batter sit at room temperature for 15–20 minutes, stir gently, then fill the muffin cups and add the crushed candies before baking.
A: Store cooled muffins in an airtight container at room temperature for up to 3 days. To freeze, place completely cooled muffins in a freezer-safe bag or container for up to one month. Thaw at room temperature or warm in the microwave on low power for 10–15 seconds.
A: Substitute the milk with your favorite plant-based milk (such as almond or oat milk), use a vegan egg replacer or flax egg (1 tablespoon ground flaxseed mixed with 3 tablespoons water), and ensure your chocolate chips are dairy-free. The texture may be slightly different but still delicious.
A: Gummy centers often result from overmixing the batter or using too much liquid. Stir the dry and wet ingredients just until combined—small lumps are fine. Also, check that your baking powder and soda are fresh and measure flour by spooning it into the cup and leveling it off rather than scooping directly.
A: Absolutely. You can use chocolate-covered peppermint candies, crushed candy canes, or even peppermint baking chips for a twist. Just be mindful that larger pieces may sink during baking, so you might need to press them gently into the batter.
A: For a decadent touch, pipe or dollop whipped cream on top and drizzle with warm chocolate sauce. You can also dust them lightly with cocoa powder or garnish with an extra mini chocolate chip and a small peppermint shard.
What sets these muffins apart is the delightful marriage of rich cocoa and bright peppermint—every bite feels like a festive celebration for your taste buds. The simple steps and readily available ingredients make this recipe both accessible and fun to share, whether you’re a novice baker or a muffin pro. Feel free to print this article, save it for later, and let me know in the comments how your batch turned out or if you have any questions along the way!
Rich cocoa muffins get a cool peppermint punch, with gooey mini chocolate chips in every bite and a sprinkle of crunchy candy on top for a holiday-worthy treat.

I’m Sophia Montgomery, your guide and fellow food enthusiast on this delicious journey. As a home cook with a deep love for creating meals that bring people together, I started this blog to share my passion for simple, flavorful, and heartwarming dishes