
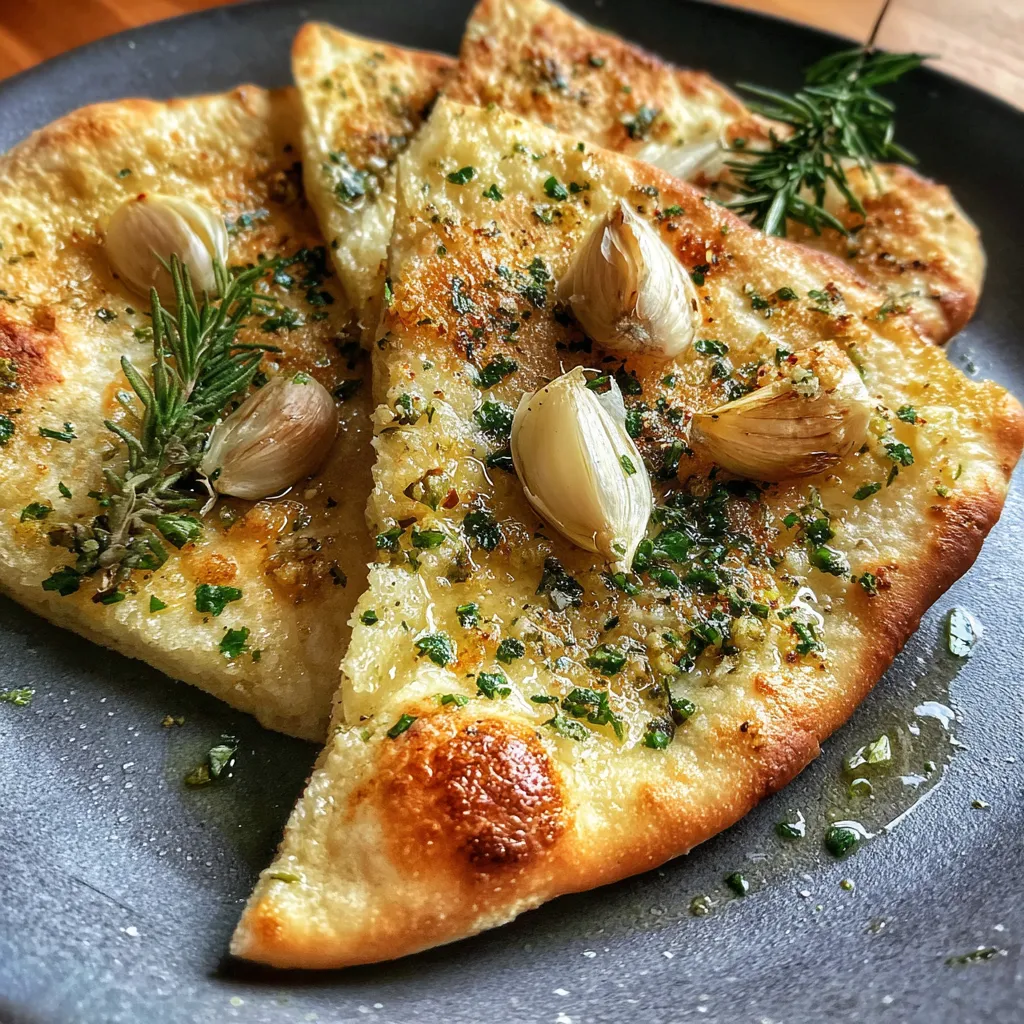
There is something universally comforting about the smell of bread baking, but when you add the scent of caramelizing garlic to the mix, it becomes downright irresistible. I remember the first time I decided to knead roasted cloves directly into the dough; the result was a game-changer that transformed a simple side dish into the star of the dinner table. These rustic flatbreads offer that perfect balance of a fluffy, airy interior with a crisp, golden exterior. You are going to love how the fresh herbs pop against the rich, smoky sweetness of the garlic, making this recipe a must-try for your next meal.
Creating these delicious flatbreads relies on pantry staples that transform into something magical when combined with fresh aromatics. The caramelized garlic cloves kneaded right into fluffy yeast dough create a smoky, aromatic side perfect for dipping. Here is exactly what you will need to get started on this intermediate level dinner accompaniment.
Making fresh bread at home might seem intimidating, but this skillet flatbread method is incredibly forgiving and rewarding. The process is broken down into two main stages: roasting the garlic to sweet perfection and preparing the yeast dough. Once the garlic is golden and soft, you will mix it directly into the flour, creating a warm, elastic dough infused with that creamy flavor. After a short rise to let the yeast do its work, you simply roll them out and sear them in a hot pan. It is a wonderful tactile experience that results in a restaurant-quality side dish right from your own kitchen.
1. Begin by preheating your oven to 400°F (200°C). Cut the top off the whole garlic bulb to expose the cloves and drizzle with olive oil. Wrap it in aluminum foil and roast in the oven for about 30-35 minutes, or until the garlic is soft and golden brown. Once ready, allow it to cool slightly, and then squeeze the roasted garlic cloves into a small bowl. Mash and set aside.
2. In a small bowl, combine the warm water, sugar, and active dry yeast. Allow it to sit for about 5-10 minutes until frothy.
3. In a large mixing bowl, whisk together the flour and salt. Make a well in the center and add the yeast mixture along with the olive oil and the mashed roasted garlic. Stir to combine the ingredients until it forms a sticky dough.
4. Transfer the dough onto a lightly floured surface and knead for about 5-8 minutes until the dough is smooth and elastic. If the dough is too sticky, you can sprinkle a little more flour as needed.
5. Place the dough in a lightly oiled bowl and cover it with a clean kitchen towel. Allow it to rise in a warm place for about 1 hour, or until it has doubled in size.
6. Once the dough has risen, punch it down to release any air bubbles. Divide the dough into 6 equal portions and gently shape each portion into a ball.
7. Roll each ball into flat rounds, about 1/4 inch thick, on a lightly floured surface.
8. Preheat a grill pan or skillet over medium-high heat. Cook each flatbread for about 2-3 minutes on each side, until they are golden brown and have nice grill marks. You can drizzle some olive oil on the flatbreads while cooking if desired.
9. Once all the flatbreads are cooked, remove them from the heat and sprinkle with the chopped fresh herbs (rosemary, thyme, and parsley) and black pepper.
10. Serve the flatbreads warm, drizzled with extra olive oil if desired. They can be enjoyed on their own or paired with dips, spreads, or as a side to your favorite dishes.
These warm, herb-topped breads are incredibly versatile and can elevate a standard weeknight dinner into something that feels like a special occasion. While they are undeniably delicious straight out of the pan with just a drizzle of oil, pairing them with the right accompaniments truly allows the roasted garlic flavor to shine. Whether you are looking for a hearty appetizer, a scoop for your favorite dip, or a sponge for savory sauces, these flatbreads are up to the task. Here are a few ways to serve them to delight your family and guests.
Getting the perfect texture and flavor balance in bread making is all about the little details. I have learned a few tricks over the years that ensure these flatbreads come out soft, pillowy, and packed with flavor every single time. Don't rush the process, especially the rising time, as this is where the flavor develops. These tips are designed to help you navigate the recipe with confidence, whether you are a seasoned baker or trying your hand at yeast dough for the first time. It is all about having fun and adjusting the recipe to suit your personal palate.
Proper storage is key to ensuring your hard work does not go to waste, as homemade bread lacks the preservatives found in store-bought versions. While these flatbreads are best enjoyed fresh off the skillet, life happens, and you might have leftovers. By storing them correctly, you can preserve that wonderful chewiness and prevent them from drying out. Whether you plan to eat them the next day or save them for a future dinner party, here are the best ways to keep your roasted garlic flatbreads tasting delicious.
I know that working with yeast and roasting garlic can raise a few questions, especially if you haven't done it before. To help you feel completely confident in the kitchen, I have compiled a list of the most common questions I get asked about this specific recipe. Here is everything you need to know to troubleshoot and perfect your flatbreads.
A: To prepare the garlic, preheat your oven to 400°F (200°C). Cut the top off a whole garlic bulb to expose the cloves, drizzle with olive oil, wrap in aluminum foil, and roast for 30-35 minutes until soft and golden brown. Once cooled slightly, squeeze the cloves out and mash them before adding to the dough.
A: You should combine the warm water, sugar, and active dry yeast in a small bowl and let it sit for about 5-10 minutes. The yeast is ready to be used once the mixture becomes frothy.
A: You should cook the flatbreads on a preheated grill pan or skillet set to medium-high heat. Cook each flatbread for about 2-3 minutes on each side until they are golden brown and have nice grill marks.
A: Yes, the recipe notes suggest that you can feel free to experiment with different herbs, such as oregano or basil, to personalize the flavor of your flatbreads.
A: Yes, these flatbreads can be made ahead of time and frozen. When you are ready to serve them, reheat them in the oven to achieve a warm and fresh taste.
A: You should allow the dough to rise in a warm place, covered with a clean kitchen towel, for about 1 hour. The dough is ready for the next step when it has doubled in size.
This recipe is truly special because it bridges the gap between artisanal baking and accessible home cooking. The magic happens when you realize how easy it is to infuse that deep, caramelized garlic flavor directly into the dough, rather than just brushing it on top. It creates a smoky, aromatic experience in every single bite that you just cannot get from store-bought alternatives. I really hope you give this a try because it is honestly fun to make and even better to eat. Don't forget to hit the print button to save this for your next dinner party, and if you do whip these up, please drop a comment below! I would love to hear how they turned out or what herbs you decided to swap in. Happy cooking!
Warm, elastic dough infused with sweet, creamy roasted garlic cooks to a golden crisp in a hot skillet. Topped with fresh rosemary, thyme, and parsley, these rustic breads offer a fragrant crunch.

I’m Sophia Montgomery, your guide and fellow food enthusiast on this delicious journey. As a home cook with a deep love for creating meals that bring people together, I started this blog to share my passion for simple, flavorful, and heartwarming dishes