
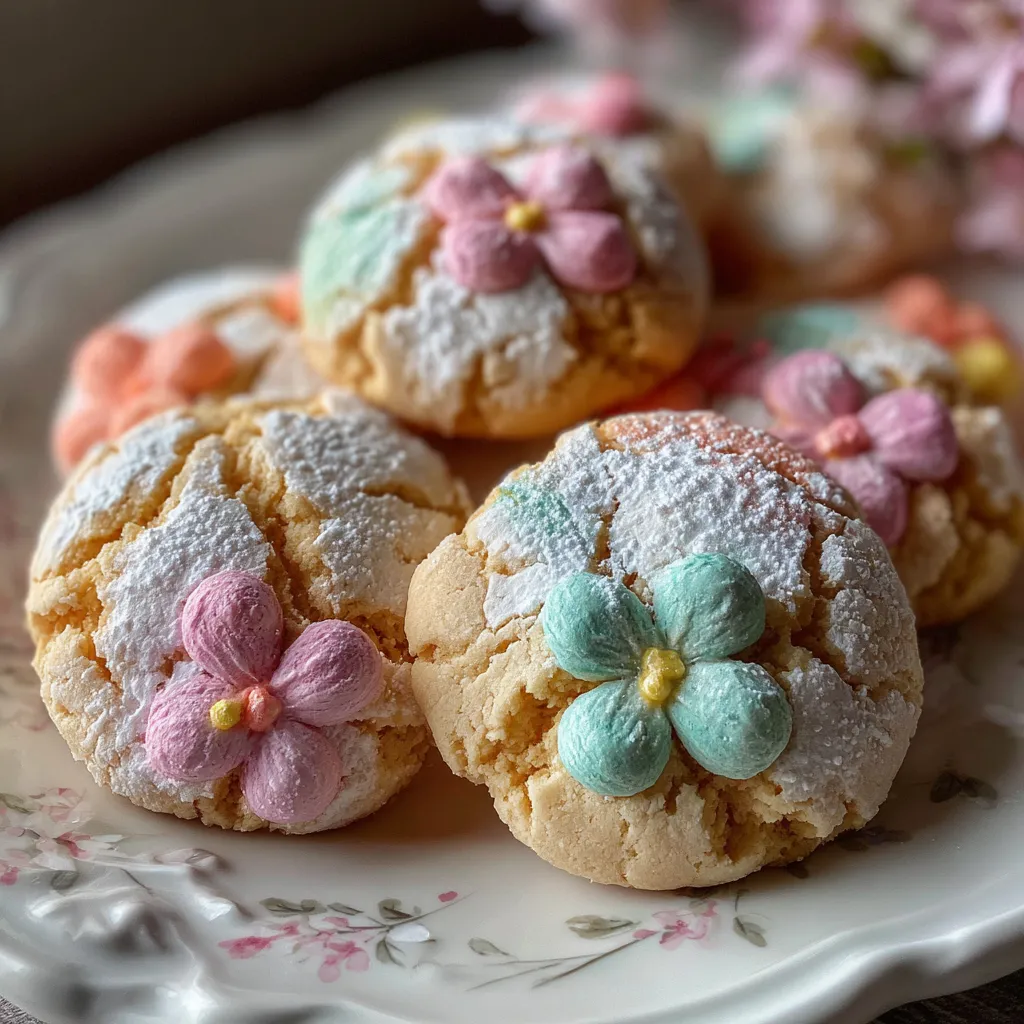
Spring Blossom Cookies are a delightful springtime treat that bring a garden of flavors to your kitchen. These tender, buttery cookies boast a bright hint of lemon and are topped with silky pastel icing that sets to a delicate sheen. Whip up whimsical blossom-shaped cookies cooled to perfection and adorned with buttery crumb and airy texture—you’ll love how crisp edges and soft centers melt in your mouth with every bite.
Let’s gather what you need to create these charming blossoms, each ingredient playing its own part in texture, flavor, and that perfect springtime look.
Baking these Spring Blossom Cookies is a joy—you’ll move from mixing dreamy dough to decorating delicate pastel blooms, all in just a few thoughtful steps. Keep your tools ready: parchment-lined sheets, bowls for icing, and blossom-shaped cutters.
1. Preheat the oven to 350°F (175°C) and line two baking sheets with parchment paper to ensure easy release and even baking.
2. In a bowl, whisk together the flour, baking powder, and salt until evenly combined, creating a smooth, lump-free dry mix.
3. In a separate bowl, cream the softened butter and granulated sugar using an electric mixer on medium speed until the mixture is light and fluffy, about 3 minutes.
4. Beat in the egg, vanilla extract, and lemon zest on low speed until the batter is smooth and fragrant, scraping down the sides as needed.
5. Gradually add the flour mixture to the butter mixture, mixing on low speed until a soft dough forms, taking care not to overmix.
6. Shape the dough into a disc, wrap in plastic wrap, and chill in the refrigerator for at least 1 hour to firm up for easier rolling.
7. On a lightly floured surface, roll the chilled dough to about 1/4-inch thickness and cut into blossom shapes with a cookie cutter.
8. Place the cookies on prepared baking sheets and bake for 8–10 minutes, or until the edges are just set and lightly golden.
9. Allow the cookies to cool completely on a wire rack before decorating to ensure icing sets smoothly.
10. In a bowl, whisk the powdered sugar with milk until smooth, then divide into small bowls and tint each with pastel food coloring.
11. Use a piping bag or spoon to decorate each cookie with tinted icing and let it set before serving, creating your own spring bouquet.
Once your Spring Blossom Cookies are iced and glowing in pastel perfection, here’s how to present them so everyone swoons:
These tips will help your cookies shine like petals in full bloom—simple tweaks for best results:
Keeping your Spring Blossom Cookies fresh and picture-perfect is a breeze with the right methods:
Here are answers to your top questions about these joyful springtime cookies:
The dough requires about 10 minutes to mix and shape, then at least 1 hour of chilling, followed by 8–10 minutes per batch of baking, plus about 20 minutes to decorate and let the icing set. Plan on roughly 1 hour 45 minutes total.
Chilling firms up the butter so the cookies hold their shape during baking and results in a tender crumb. You can chill the dough for 1 hour or up to 24 hours—overnight chilling makes rolling easier and creates sharper blossom edges.
Use room-temperature but not overly soft butter when creaming with sugar, avoid over-beating the dough once the flour is added, and make sure the dough is well chilled before rolling. Baking on parchment-lined sheets at the correct temperature also helps maintain shape.
Lightly flour your work surface and rolling pin, then roll the dough to a uniform thickness of about 1/4 inch. Cut with a clean blossom-shaped cutter, dipping it in flour between cuts, and return any scraps to the fridge before re-rolling to keep the dough cold.
Use gel-based food coloring, adding just a drop or two to the powdered sugar and milk mixture. Stir gently until you reach the desired shade; gel colors provide vibrant hues without requiring extra liquid, so the icing stays at piping consistency.
Yes. You can mix and chill the dough up to 24 hours in advance. Baked cookies can also be stored undecorated in an airtight container for up to three days before icing, or fully decorated cookies can be made a day ahead.
Once the icing has completely set, layer the cookies in an airtight container with parchment paper between each layer to prevent sticking. Store at room temperature away from heat or direct sunlight for up to four days.
Spring Blossom Cookies are the epitome of sunny spring vibes—light lemony dough cut into cute blossoms, topped with silky pastel icing that feels like eating a flower petal (only much more delicious). This recipe works because the crumb is tender on the inside, crisp on the edges, and the icing dries to just the right sheen for snacking or gifting. Feel free to print this article and save it for your next baking day, and don’t forget to drop a comment or ask a question if you give these cookies a whirl—I’d love to hear how your garden of treats turns out!
These tender cookies boast a buttery crumb and a bright hint of lemon, each blossom shape topped with silky pastel icing that sets to a delicate sheen. Crisp on the edges, soft inside, they melt on your tongue.

I’m Sophia Montgomery, your guide and fellow food enthusiast on this delicious journey. As a home cook with a deep love for creating meals that bring people together, I started this blog to share my passion for simple, flavorful, and heartwarming dishes